How do you use a Wicked Edge sharpening system?
Find it difficult to sharpen knives? Not anymore, with a Wicked Edge sharpening system! With this extensive system, professional sharpening results are within reach for everyone. From Swiss pocket knives to kitchen knives, and from survival knives to gentlemen's knives: with a Wicked Edge you can sharpen them all quickly and very accurately. A guaranteed razor-sharp result!
Sharpening on a Wicked Edge: how does it work?
Sharpening on a Wicked Edge may be a bit different from what you're used to. You can't compare it with a sharpening steel or electric sharpener. A Lansky or Spyderco sharpening system comes closer. But sharpening on a Wicked Edge is even easier. In this step-by-step plan we'll show you exactly how to sharpen with a Wicked Edge sharpening system.
Step 1: clamp your knife in the Wicked Edge
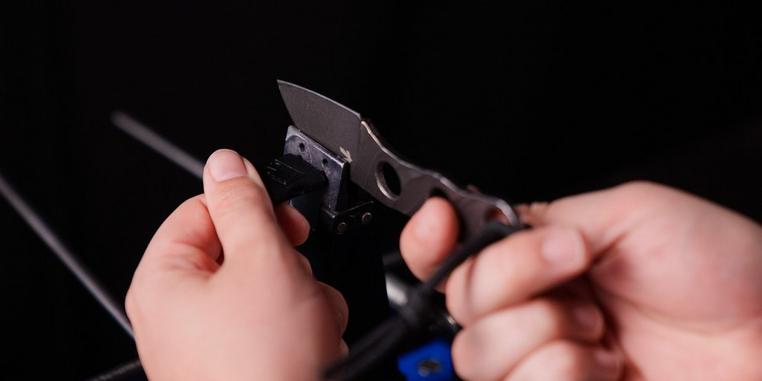
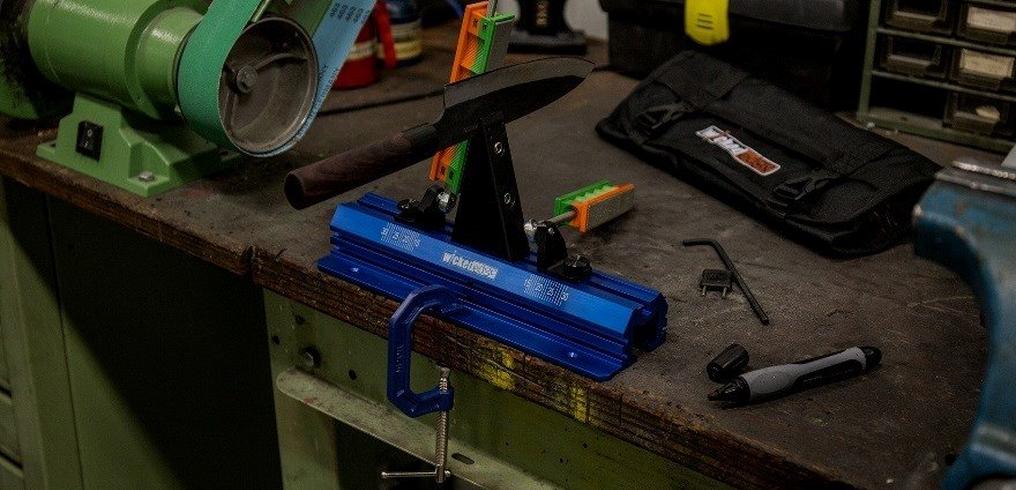
The Wicked Edge sharpening system comes with a ruler and a depth key. Use these to make sure that your knife is always clamped in exactly the same place. You can choose two vertical positions when clamping. To ensure that the degree markings for the sharpening angle are accurate, the blade should protrude about 5/8 inch (15.8 mm) above the clamp. Want to be able to check what angle you're sharpening at? Then the digital angle meter, available separately, might be just what you need! The digital angle meter comes as standard with the Wicked Edge Pro Pack 2 and Pro Pack 3.
Step 2: the right sharpening angle for your knife
There are a number of ways to find out the sharpening angle of a knife. Often, this information comes already provided by the supplier of the knife. If not, it's fairly easy to determine the sharpening angle yourself. Draw a line on the edge of the blade with a waterproof felt-tip pen and carefully sharpen it slightly with a potential sharpening angle. You can then see from the missing part of the line whether this sharpening angle is good, or whether it should be larger or smaller. Want to know more about sharpening angles? Read all about sharpening angles in our topic.
Step 3: mount the guide rods
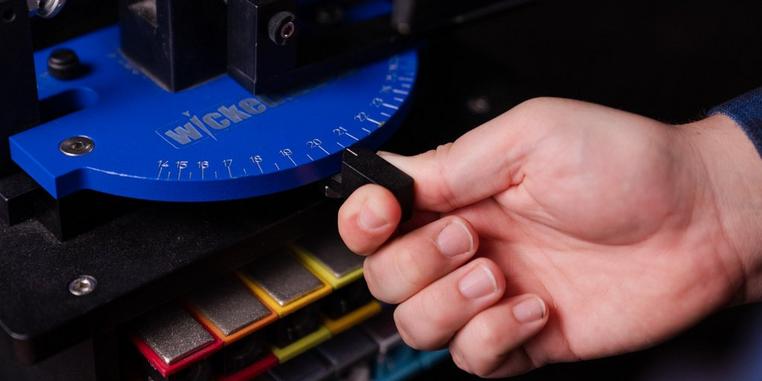
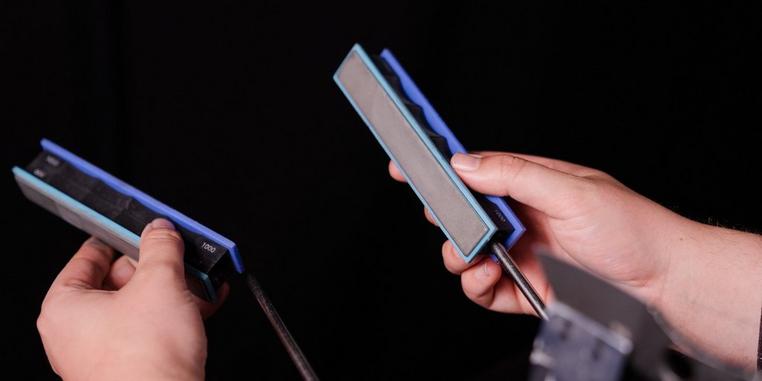
With the Wicked Edge, you mount the guide rods for the sharpening stones according to the sharpening angle. So determine your sharpening angle first and then put the guide rods in the right position. The Wicked Edge has clear indications so you can easily position the rods. Then slide the sharpening stones over the guide rods. If you have a seriously blunt knife, start with a coarse sharpening stone, for example 100 grit. This will restore the edge of the knife. If you only want to give your knife a touch-up, use the finer stones (for example 1000 grit).
Step 4: sharpening on the Wicked Edge
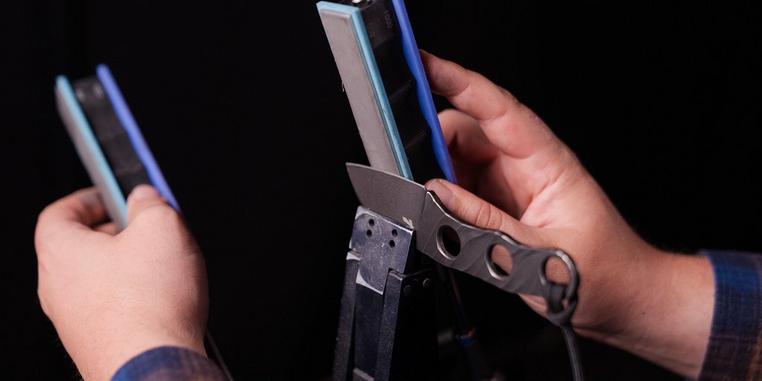
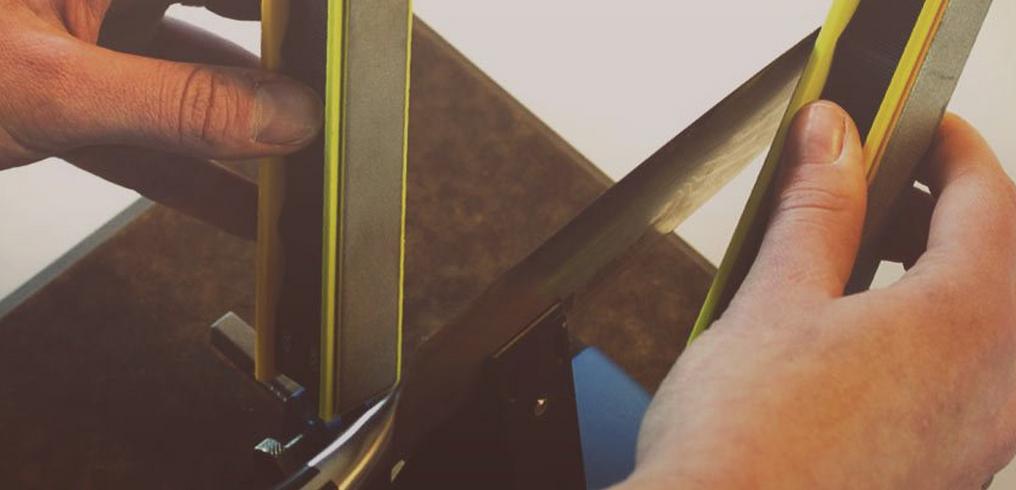
Sharpening on a Wicked Edge is fairly straightforward. Start with the coarsest stone needed for that knife. Not sure where to begin? Then have a look at our information about sharpening stones before you get cracking! Begin on one side of the blade. Start at the back, with the sharpening stone as low as possible. Apply light pressure and move the stone towards the front of the blade. As you move the stone forward, you also raise it. Stop when you hit the tip of the blade. Work calmly and slowly — speed takes a little more experience and will come naturally over time.
Quite easy to do, all in all! A Wicked Edge comes with stones that can be used on both sides. Which stones are supplied will depend on which set you order. The double stones mean that once you've got the hang of the technique, you'll be able to sharpen the knife on both sides at the same time. You always sharpen dry on the Wicked Edge. Also, always work from the back of your knife to the front.
Step 5: finishing
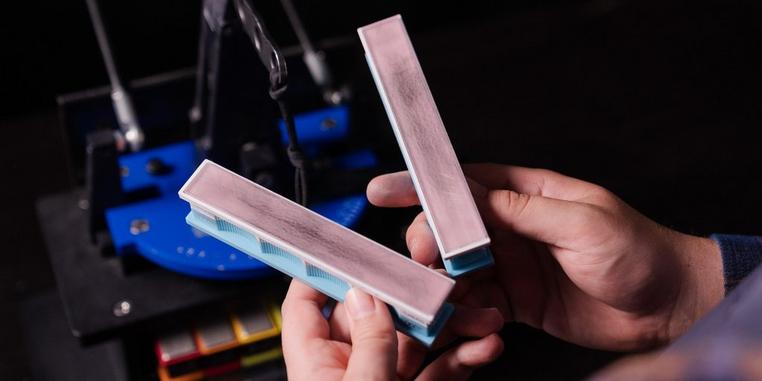
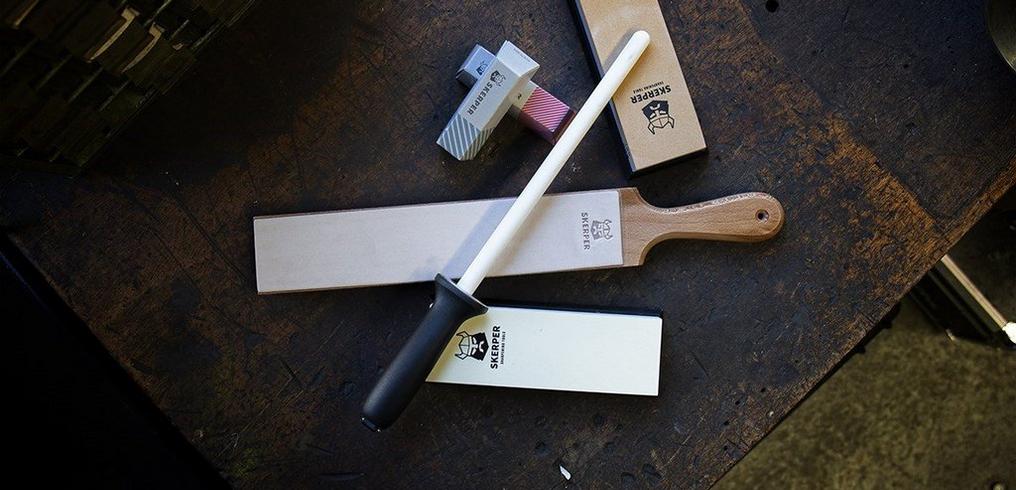
Has your knife regained its former sharpness? Then you can now choose to do some final polishing. Wicked Edge also supplies leather strops that are ideal for this. Apply a little diamond paste (included) to the strops and polish your blade with them. It's important to handle the leather strops with care. Only move the leather upwards, as this will minimize any damage to the material. Clean your knife thoroughly before you start stropping so no metal particles end up in the leather.
Tips
-
Pay close attention to what is happening to your knife. Make sure that metal is removed where you want it and not where you don't want it. And if that does happen? Take a closer look at your sharpening angle. You can do this by using the felt-tip pen test mentioned in step 2.
-
Wipe your knife whenever you change sharpening stone. This prevents metal particles from the knife getting between your fine sharpening stones.
-
Don't be alarmed if your knife doesn't immediately become as sharp as you had hoped. The Wicked Edge uses diamond stones that work very aggressively in the beginning. After 5 to 10 knives, they work optimally. Do you have ceramic stones for your Wicked Edge sharpening system? You don't have to pre-sharpen these first.
-
In the beginning, use an old knife as a practice knife. This allows you to test things out, without having to worry about making a mistake.
A Wicked Sharp Edge is truly available to everyone!
Hopefully our explanation has convinced you: the Wicked Edge makes great sharpening possible for everyone. Because you are always sharpening at the correct sharpening angle and can also hold it steady, a large hurdle is removed. Suddenly, sharpening isn't difficult or complicated anymore: you can do it too! Wondering which Wicked Edge sharpening system is the best for you? Check out our Wicked Edge buying guide. Would you like to find out more about maintenance of your Wicked Edge sharpening system? Then have a look at our maintenance tips.
